

Introduction
This is a continuation of the previous article about creating a VM on azure. But things are gonna be a little different for creating an Ubuntu Virtual Machine. What is the difference though? Windows virtual machines allows you to remotely control them via GUI(Which is provided by RDP) but Linux Virtual Machines don't come with a GUI on Azure. They come with a SSH(Secure Shell) which allows your terminal to get connected with the terminal of the VM in the cloud.
But there are still ways to get the RDP client working with Linux VM's as we will see in this article
Steps for Creating an Ubuntu Virtual Machine
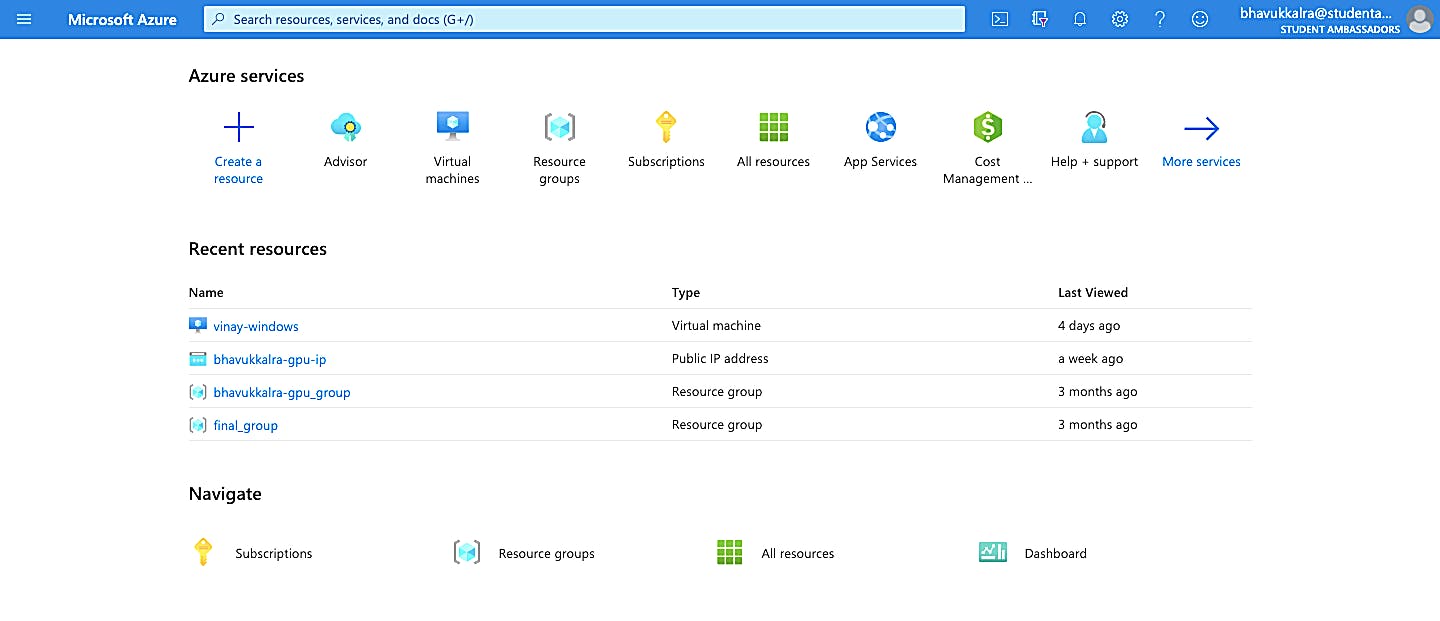
Go to azure portal and click on create a resource
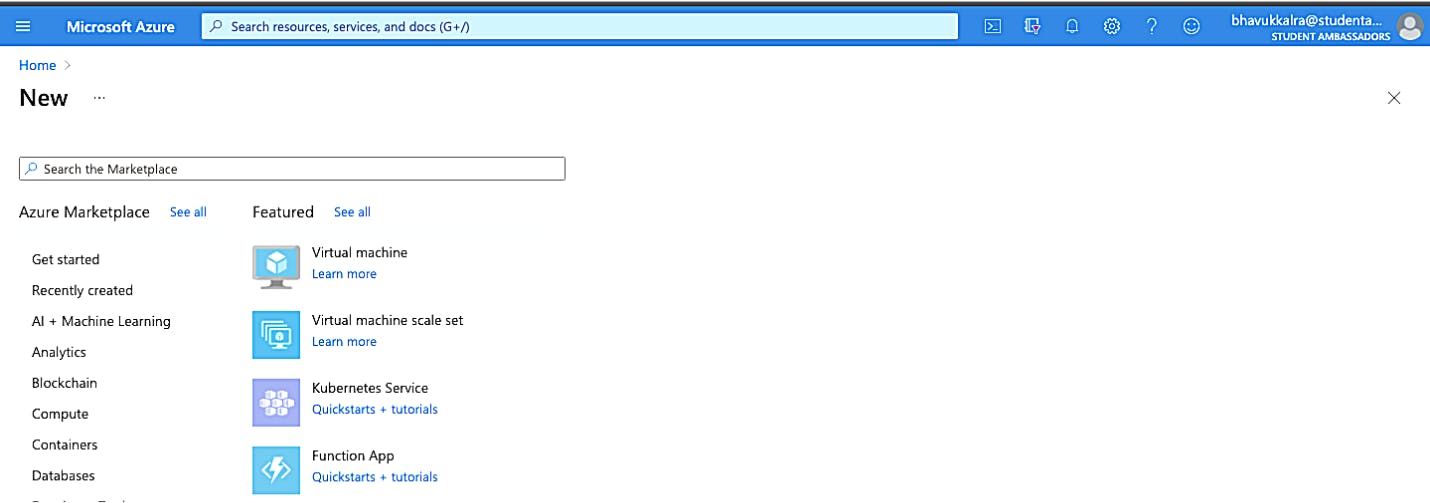
Click Compute and Select Virtual Machine
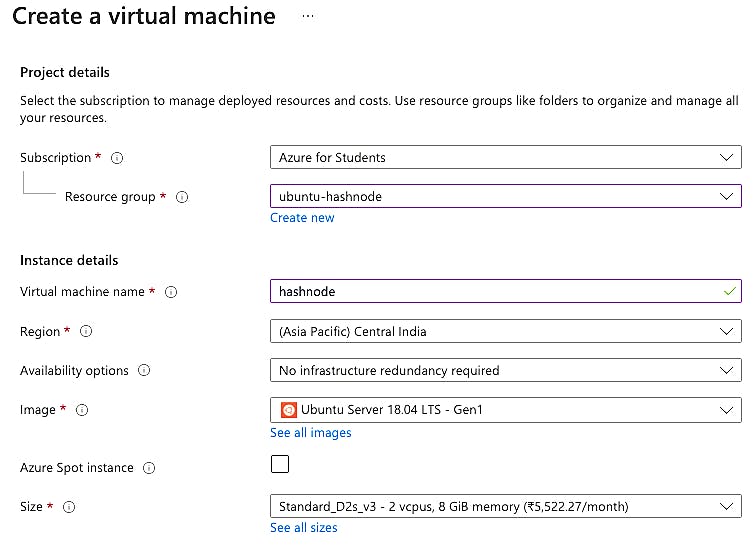
Enter Credentials like Resource Group, VM name.Some of the High Computing(Compute Optimised) Vm's might not be available in certain Regions. Region prices also may vary. Hence, choose a region that best suits your needs
Choose Authentication type as SSH public Key(Password type authentication could also be selected but SSH Public/Private key type authentication provides more security). If you have a Public/Private key pair existing then enter the details of the public key. If not, then Generate a new Public/Private Key Pair. Allow Public inbound port SSH(Default 22).
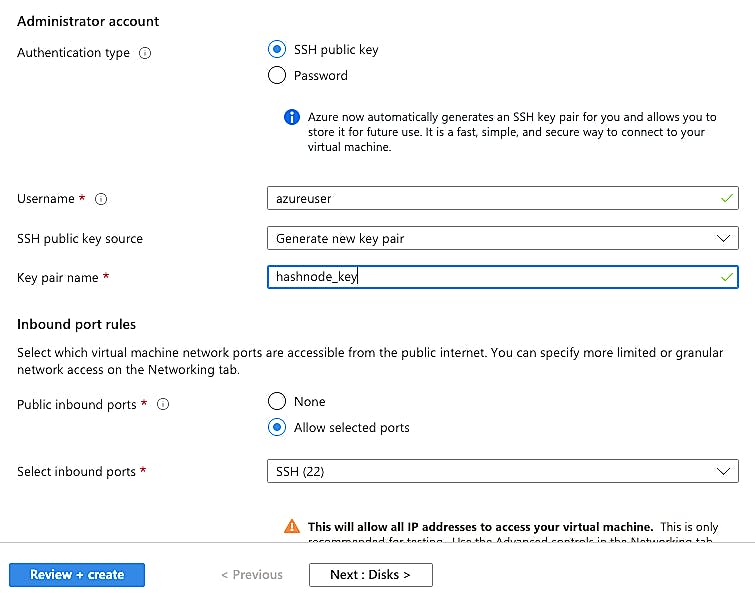
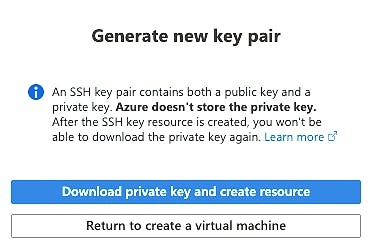
Click Review + Create. When Prompted download the Private Key file and Keep it Safe(If you want give access to the VM to a trusted person, just share the Private Key with them)
Steps For Connecting to Virtual Machine
Initial Setup
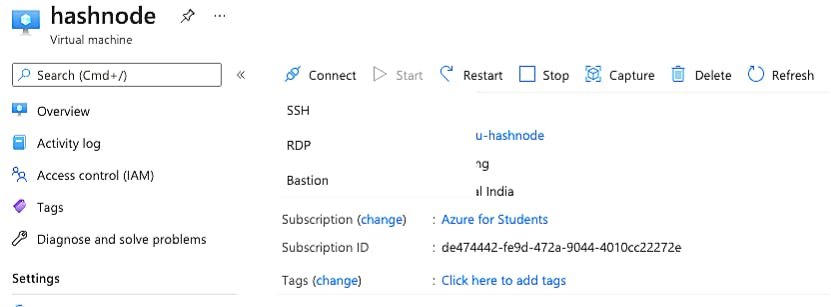
Click Overview > Connect > SSH. Ensure that you have READ ONLY access to the private key.
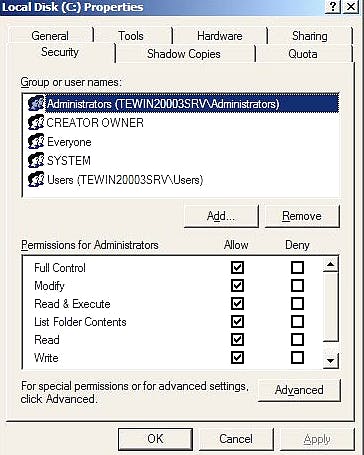
For Windows go to Properties > Security and change the permissions of the user to allow only Read access
For MAC/LINUX run the following command in the directory where the private file is located(For me its in Downloads directory, named hashnode_key.cer). To give read only access run
chmod 400 hashnode_key.cer
Establishing Connection
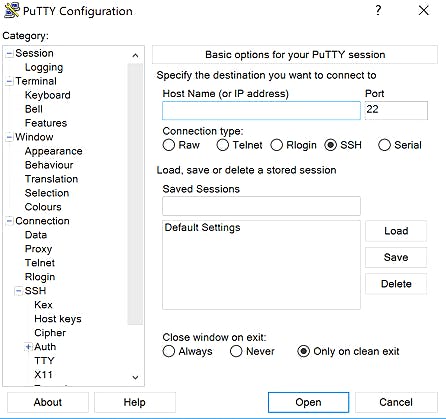
Windows users can use Putty to establish a connection(Also helps generating Public/Private Key Pairs). Enter Host IP Address, Port 22(Default for SSH). Go to Auth Section and browse to where the Private Key file is located.Finally Click Open.
MAC/LINUX users run the below command
ssh -i <private key path> <host username>@<host ip address>
for me the command is
ssh -i /Users/bhavukkalra/Downloads/hashnode_key.cer azureuser@104.211.113.202
Voila 🎉 and we are in. At this stage the VM is ready to be used. You could skip further steps. But for establishing a RDP connection on this VM(which provides a GUI to Ubuntu VM) Keep on reading.
Establishing RDP connection on Ubuntu VM
Establishing a desktop environment
install xfce using apt as follows:
sudo apt-get update
sudo apt-get -y install xfce4
Install and configure a remote desktop server
Now that you have a desktop environment installed, configure a remote desktop service to listen for incoming connections. xrdp is an open source Remote Desktop Protocol (RDP) server that is available on most Linux distributions, and works well with xfce. Install xrdp on your Ubuntu VM as follows:
sudo apt-get -y install xrdp
sudo systemctl enable xrdp
Tell xrdp what desktop environment to use when you start your session. Configure xrdp to use xfce as your desktop environment as follows:
sudo service xrdp restart
Set a local user account password
If you created a password for your user account when you created your VM, skip this step. If you only use SSH key authentication and do not have a local account password set, specify a password before you use xrdp to log in to your VM. xrdp cannot accept SSH keys for authentication. The following example specifies a password for the user account azureuser:
sudo passwd azureuser
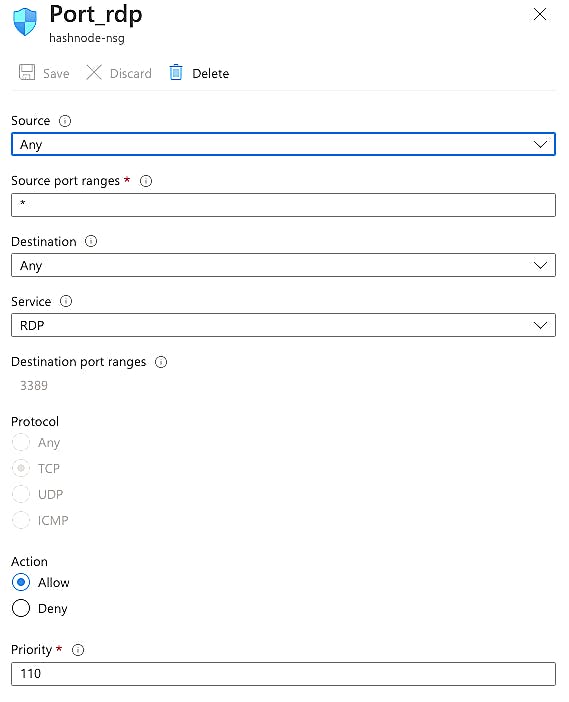
Add Inbound port rule for RDP connections
By default, for making Linux type virtual machines azure doesn't provide option for opening RDP(3389) connection port as it does for Windows Virtual Machines(as seen in part-1). So, it has to be done manually by going to Networking > Add Inbound Port Rule
After Addition of Inbound Port rule. Open your remote desktop client. For Windows just download the RDP file and double click on it. For Mac You can download Microsoft Remote Desktop for the same and import the RDP file in it.Linux/Debian based systems can make use of Remmina for a RDP connection
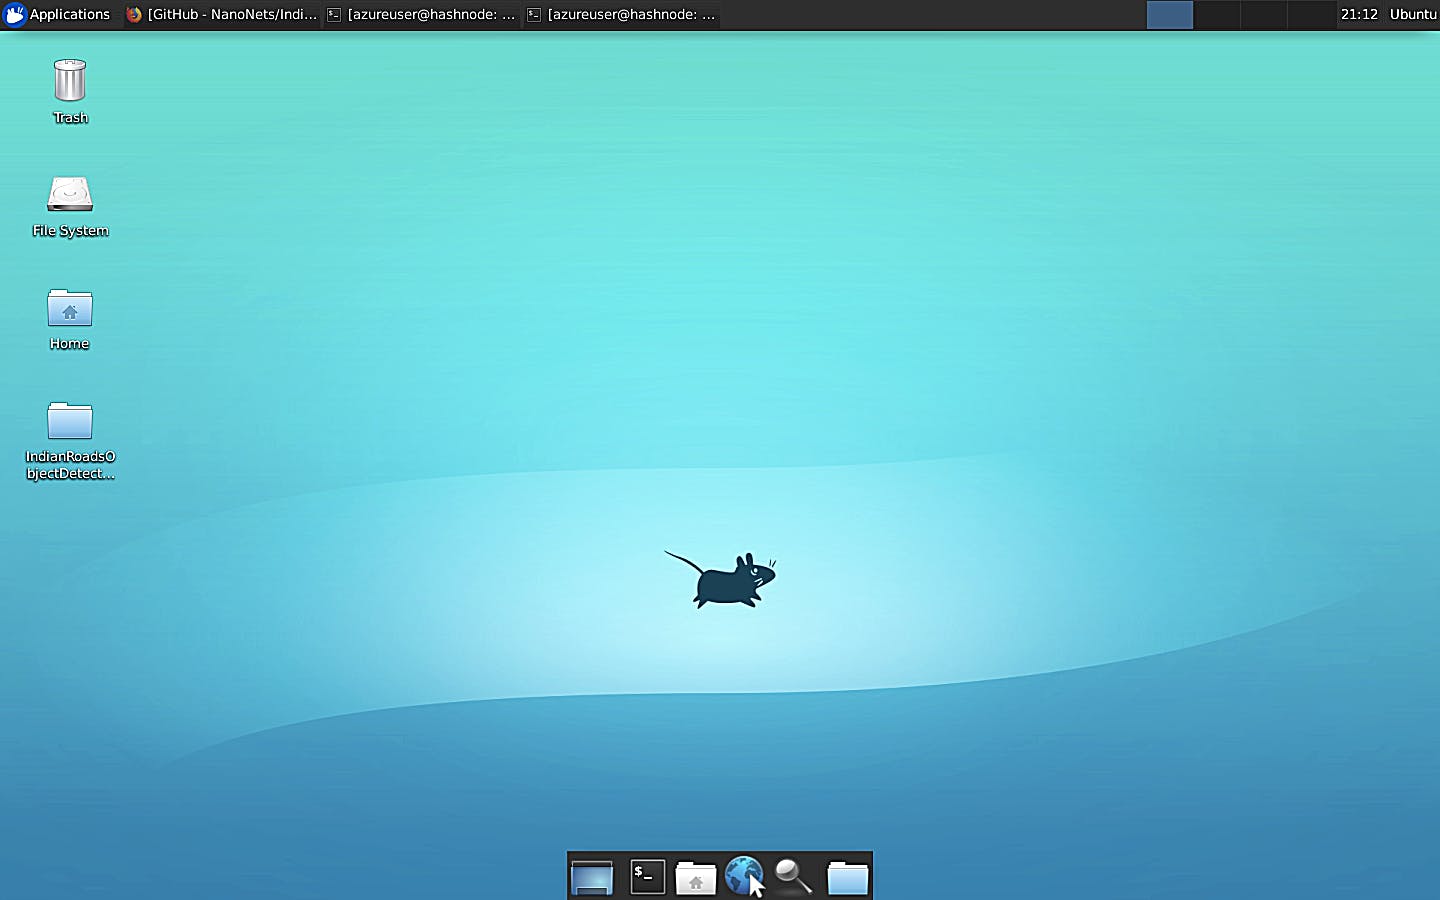
Voila 🎉, We have now established a GUI to our Ubuntu VM as well besides the SSH.
CONCLUSION
This is the end of our two part series on how to create Windows and Linux(Ubuntu) Virtual Machines on Azure. I hope you had fun reading as much i had making them.
Thanks for Reading😉